

First steps
Work through these in order. Each one takes a minute, and the first two are the difference between a site you can recover and one you cannot.
System → System shows a live checklist of anything still misconfigured, so you can use that screen as your to-do list rather than this page.
1. Turn on two-factor authentication
Profile menu → Two-factor auth. Scan the QR code with any authenticator app, enter one code to confirm, then save your recovery codes somewhere that is not this site.
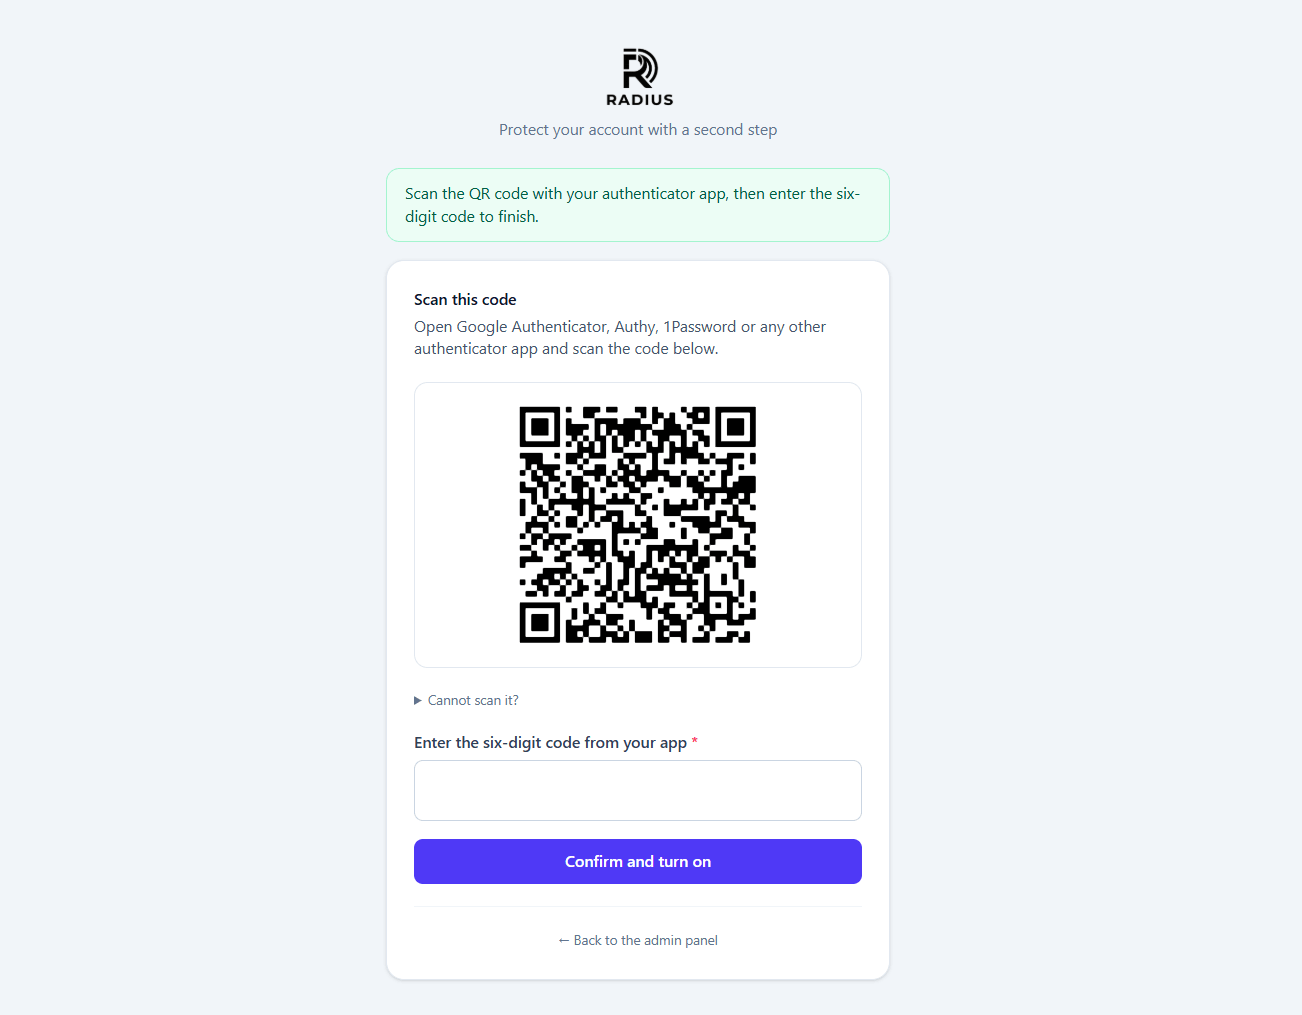
You get eight recovery codes and each works exactly once. They are the only way back in if you lose the authenticator.
See Users & roles.
2. Set APP_DEBUG=false
Open .env and confirm:
APP_ENV=production
APP_DEBUG=false
With debug on, an error page prints file paths, configuration values and fragments of your database credentials to whoever triggered it. The installer sets these correctly; a copied .env from a development machine often does not.
3. Move the admin panel off /admin
In .env:
CMS_ADMIN_PREFIX=my-private-pathThen clear the route cache (System → Maintenance, or php artisan optimize:clear).
This is not a substitute for a strong password — it is a way of keeping your login page out of the way of automated scanners that only ever try /admin.
Write the new path down
Nothing on the public site links to the admin panel. If you forget the prefix, you have to read it back out of .env.
4. Switch off modules you do not need
System → Modules. A blog with no shop should not be carrying the shop.
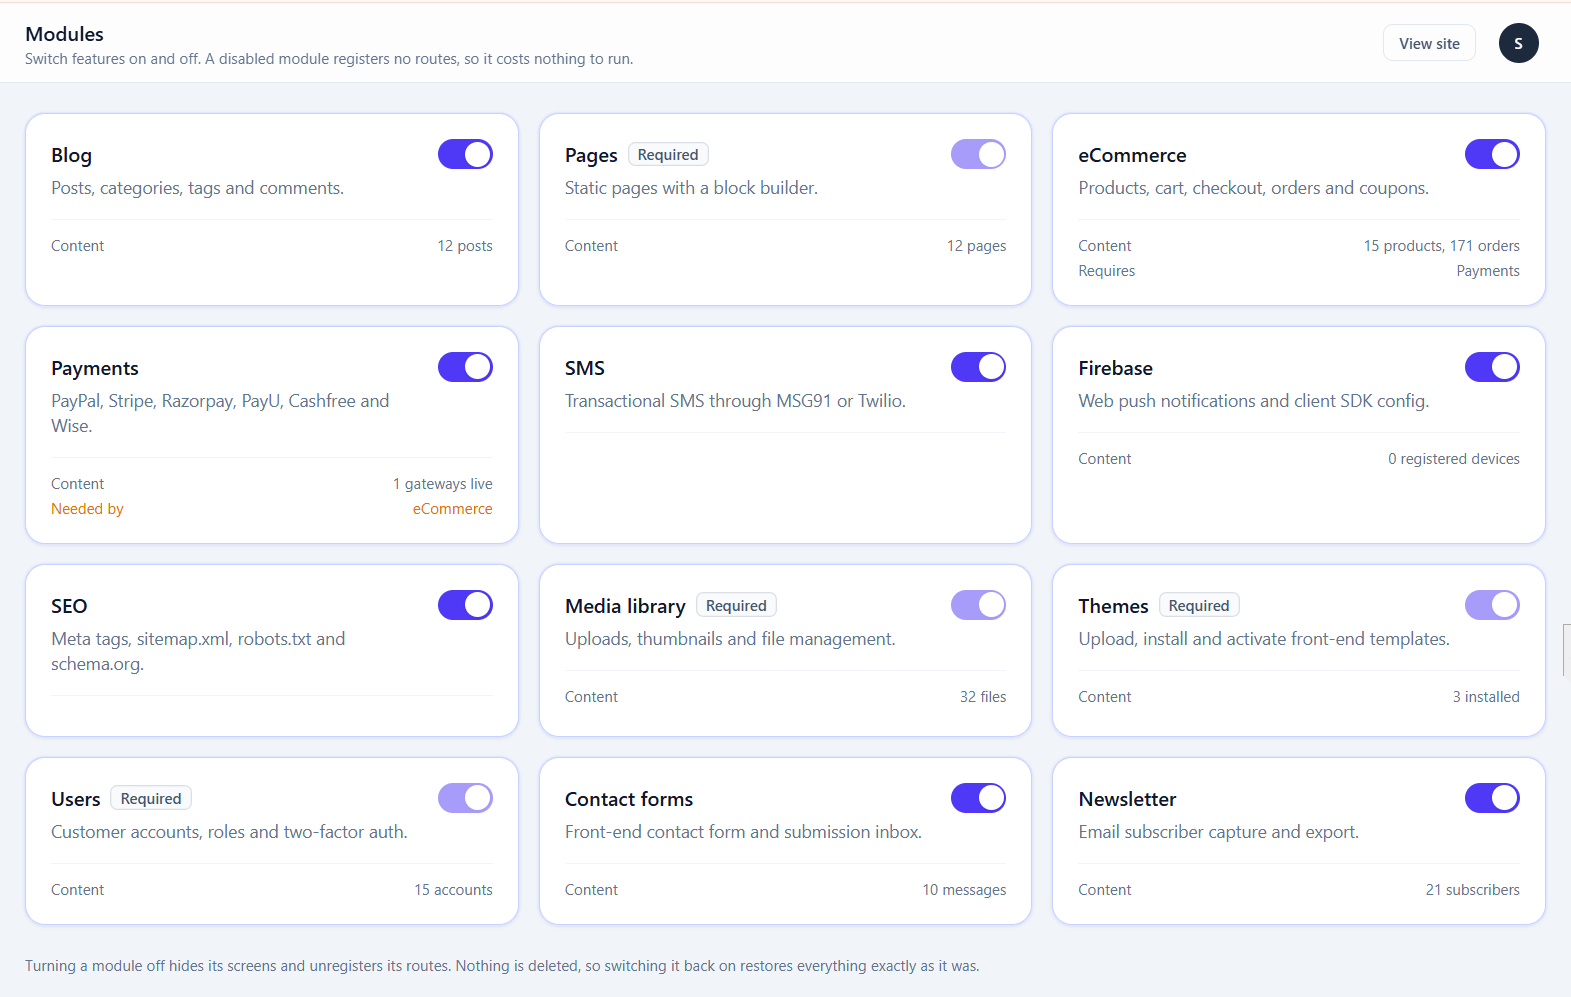
Nothing is deleted when you switch a module off, so this is safe to change your mind about later. See Modules.
5. Configure email, then test it
Settings → Email. Set your provider, save, then use the Send test email button on the same screen.
Order confirmations, password resets and contact form notifications all depend on this. Without it, a customer who forgets their password has no way back into their account.
See Settings → Email.
6. Run the exposure check
System → Security → Check exposure.
This makes your own server request its .env, its config files, its log file and its install lock, then reports what actually came back. A green result means those files are genuinely unreachable on your host — not that the layout looks correct.
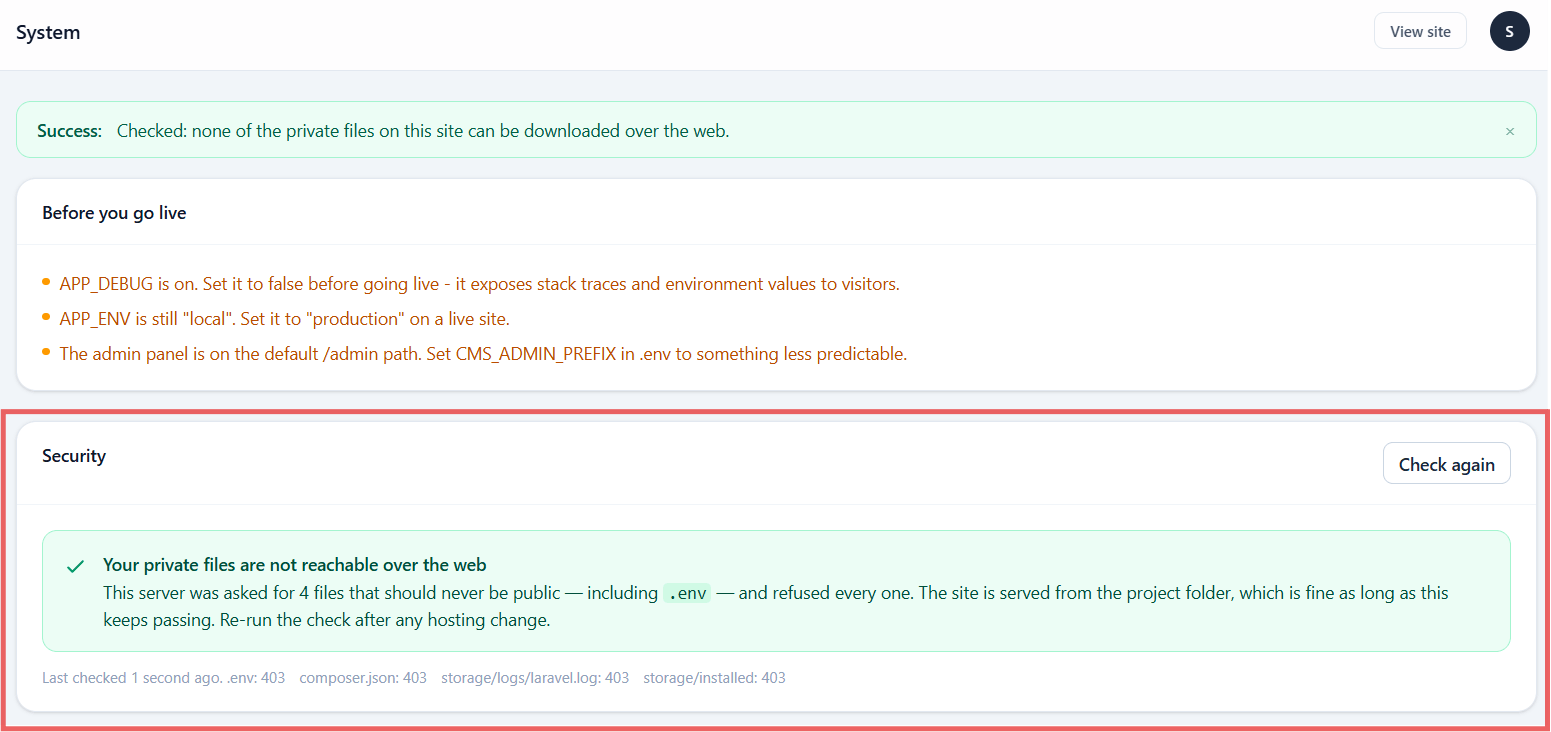
If it finds something readable
Treat it as a live leak. Fix the server configuration, then change your database password and run php artisan key:generate. Assume anything that was readable has been read.
Then, when you are selling
Only relevant if the shop module is on:
- Settings → Shop — currency, tax, shipping, and download limits
- Shop → Payment gateways — credentials for at least one gateway
- Paste each gateway's webhook URL into the provider's dashboard
- Place a test order and refund it
See Payment gateways.
Before you announce the site
- Mark a page as the homepage — the Use as homepage switch in the page editor
- Fill in the default meta title and description under Settings → SEO
- Turn off "Discourage search engines" if you turned it on while building
- Check
https://yoursite.com/sitemap.xmlreturns a document - Build a menu so visitors can navigate — see Menus