

Installation
There are two routes: the setup wizard in a browser, which is what most people want, and the command line, which is faster if you already have SSH and a database ready.
Check Requirements first — or let the wizard check them for you, which is its first screen.
Where to put the files
Point your domain at the public/ directory if your host lets you. Nothing else in the project is meant to be reachable, and .env — your database password, the key that signs every session cookie, your payment gateway secrets — sits one level above it.
If your host does not let you move the document root, extract the whole project inside your web root instead. The included root .htaccess maps every request into public/, so your site answers on:
https://example.com/https://example.com/public/... redirects to that address with a permanent 301. Two addresses for one page is a duplicate-content problem — search engines split a page's ranking between them — so there is deliberately only ever one.
Never serve the project folder without its .htaccess
That file is the only thing keeping .env, the source code and the uploads folder unreachable when the project sits inside the web root. If your host ignores .htaccess files (AllowOverride None), you must point the document root at public/. See Security.
The setup wizard
- Upload the files and point your domain at them.
- Create an empty MySQL database. Note the name, user and password.
- Open your site in a browser. The wizard starts automatically.
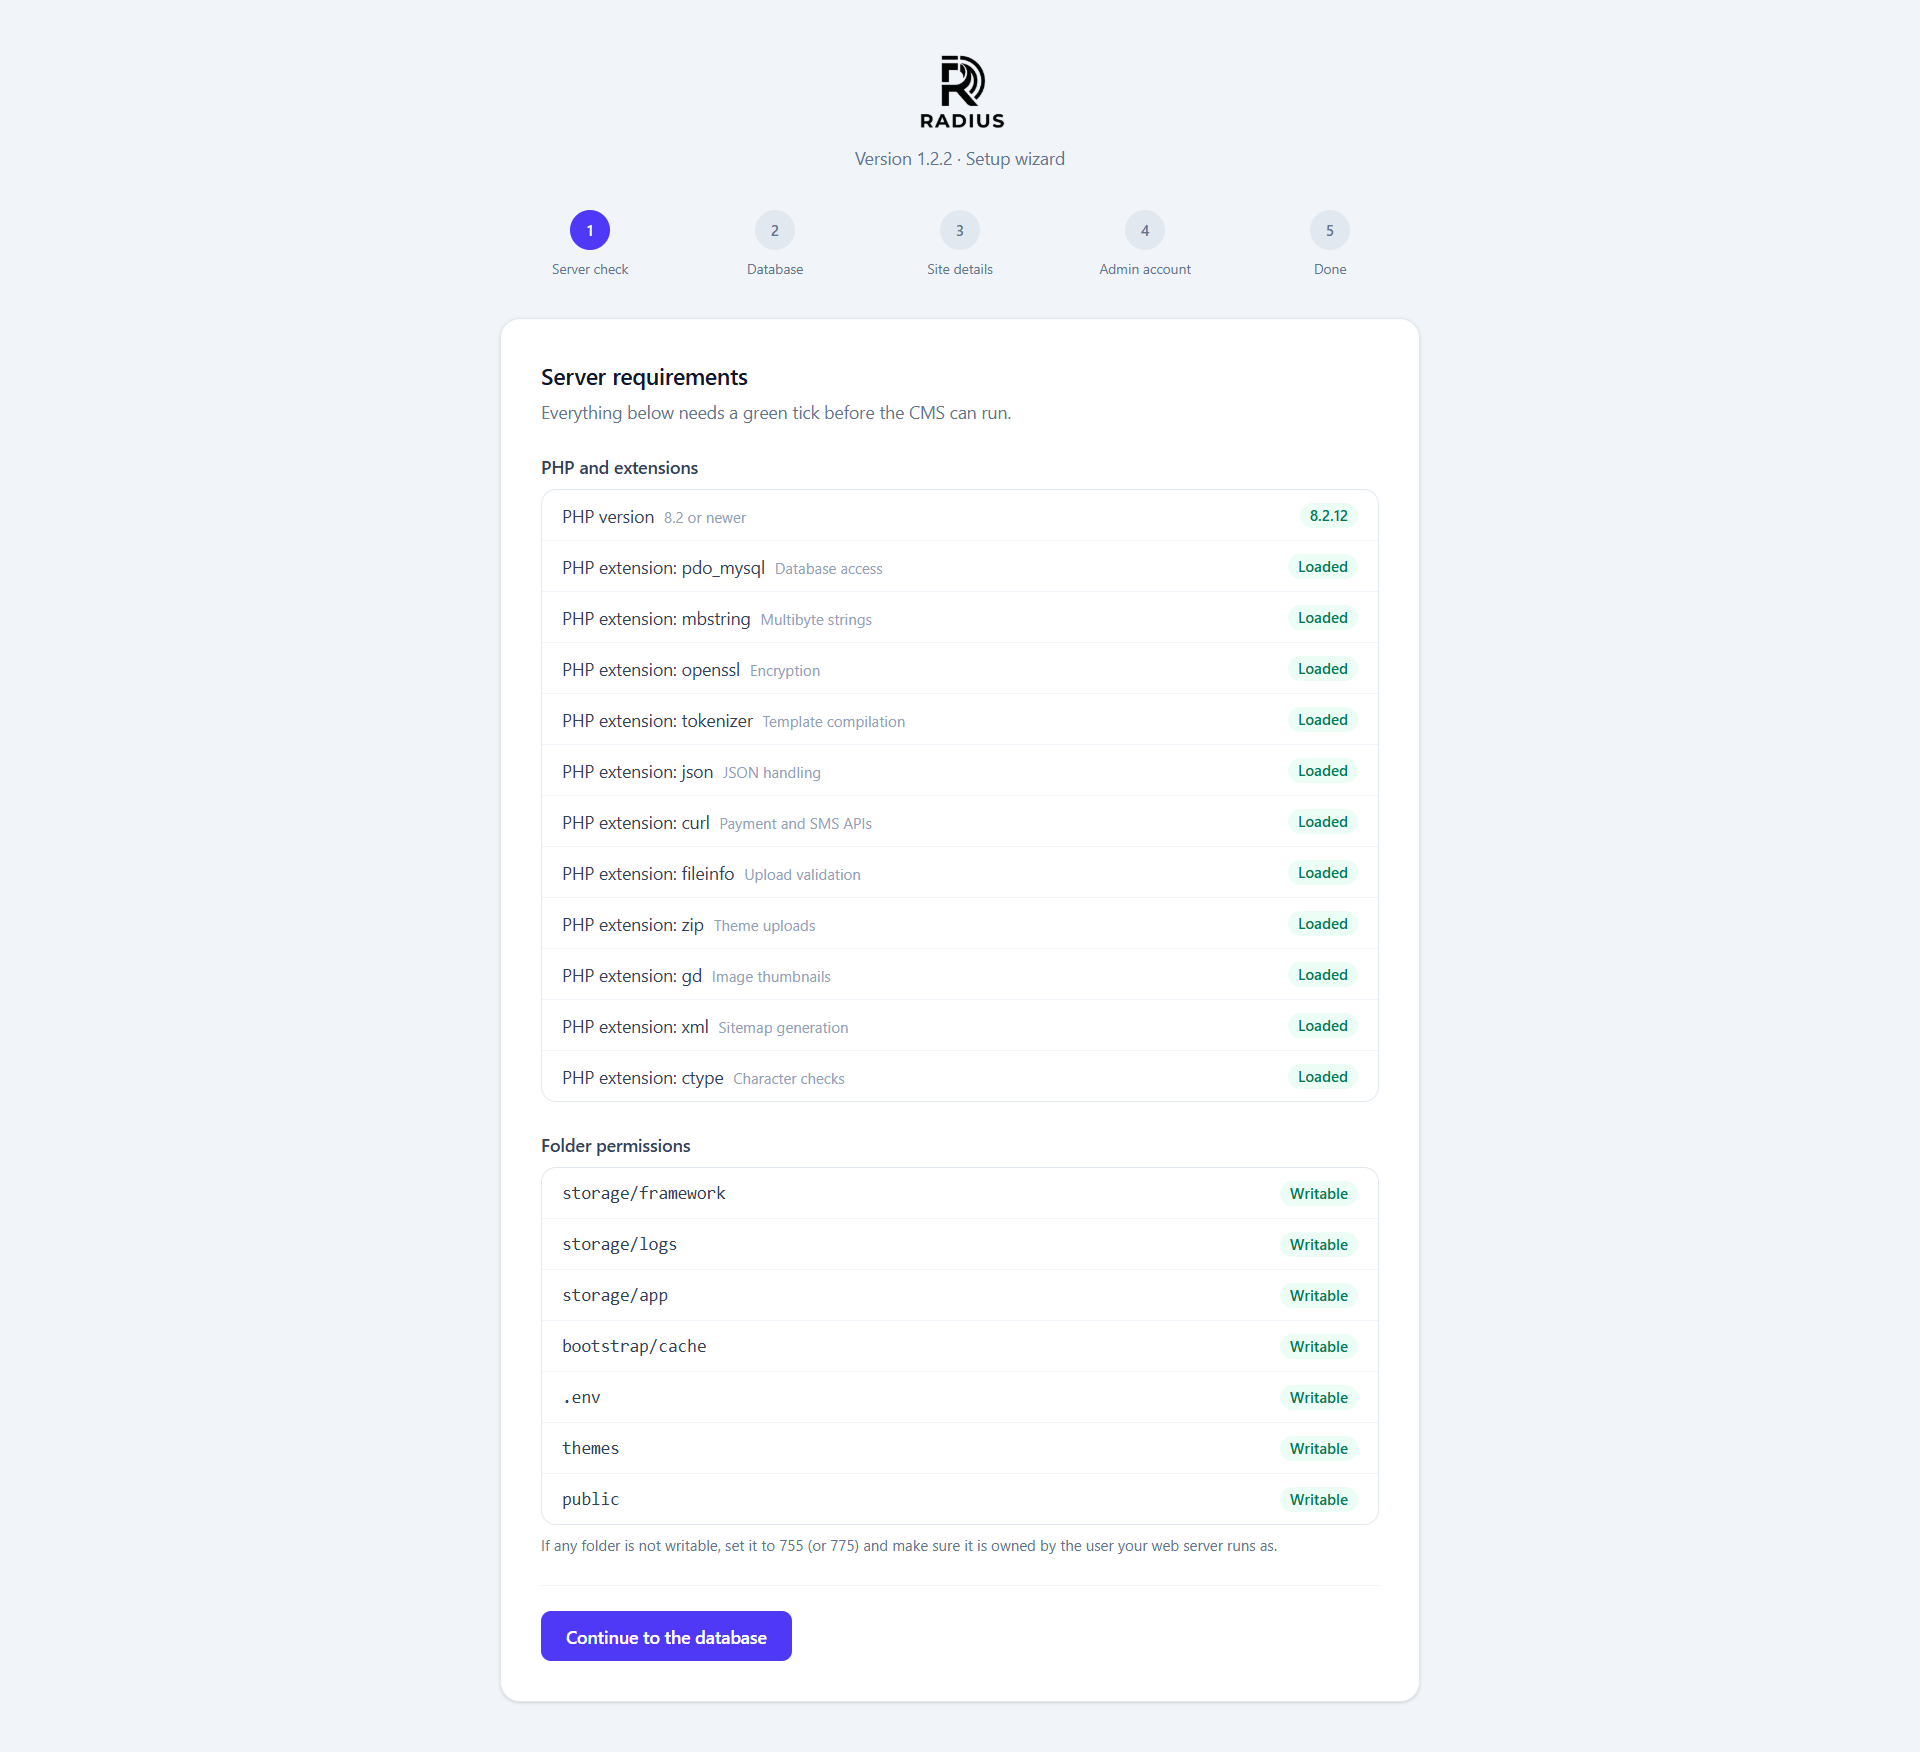
Step 1 — Server check
Every requirement is tested on the real server. The wizard will not continue while anything is failing.
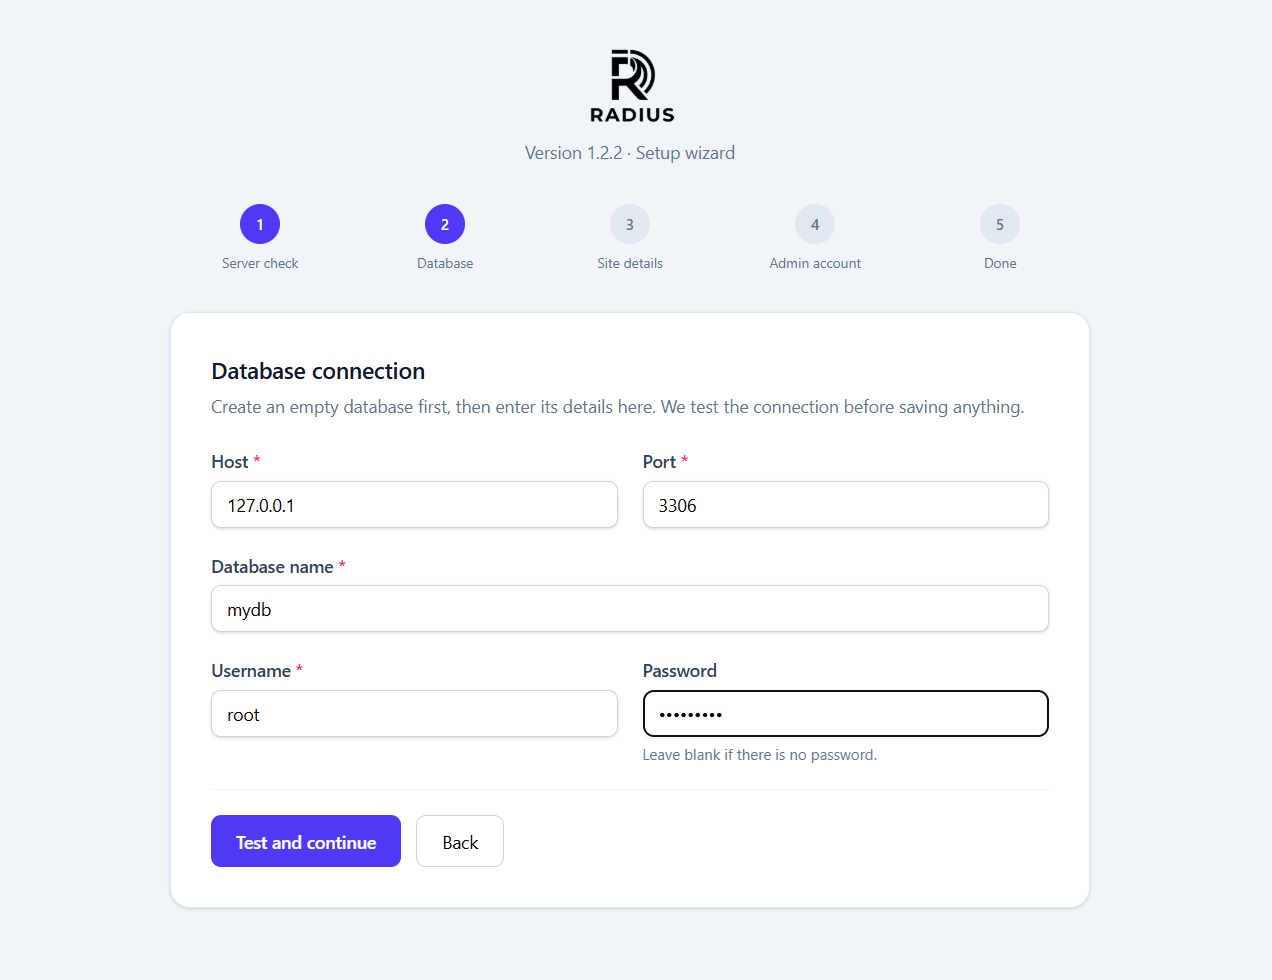
Step 2 — Database
Enter the credentials for the empty database you created. The wizard connects before accepting them, so a typo is caught here rather than halfway through the migrations.
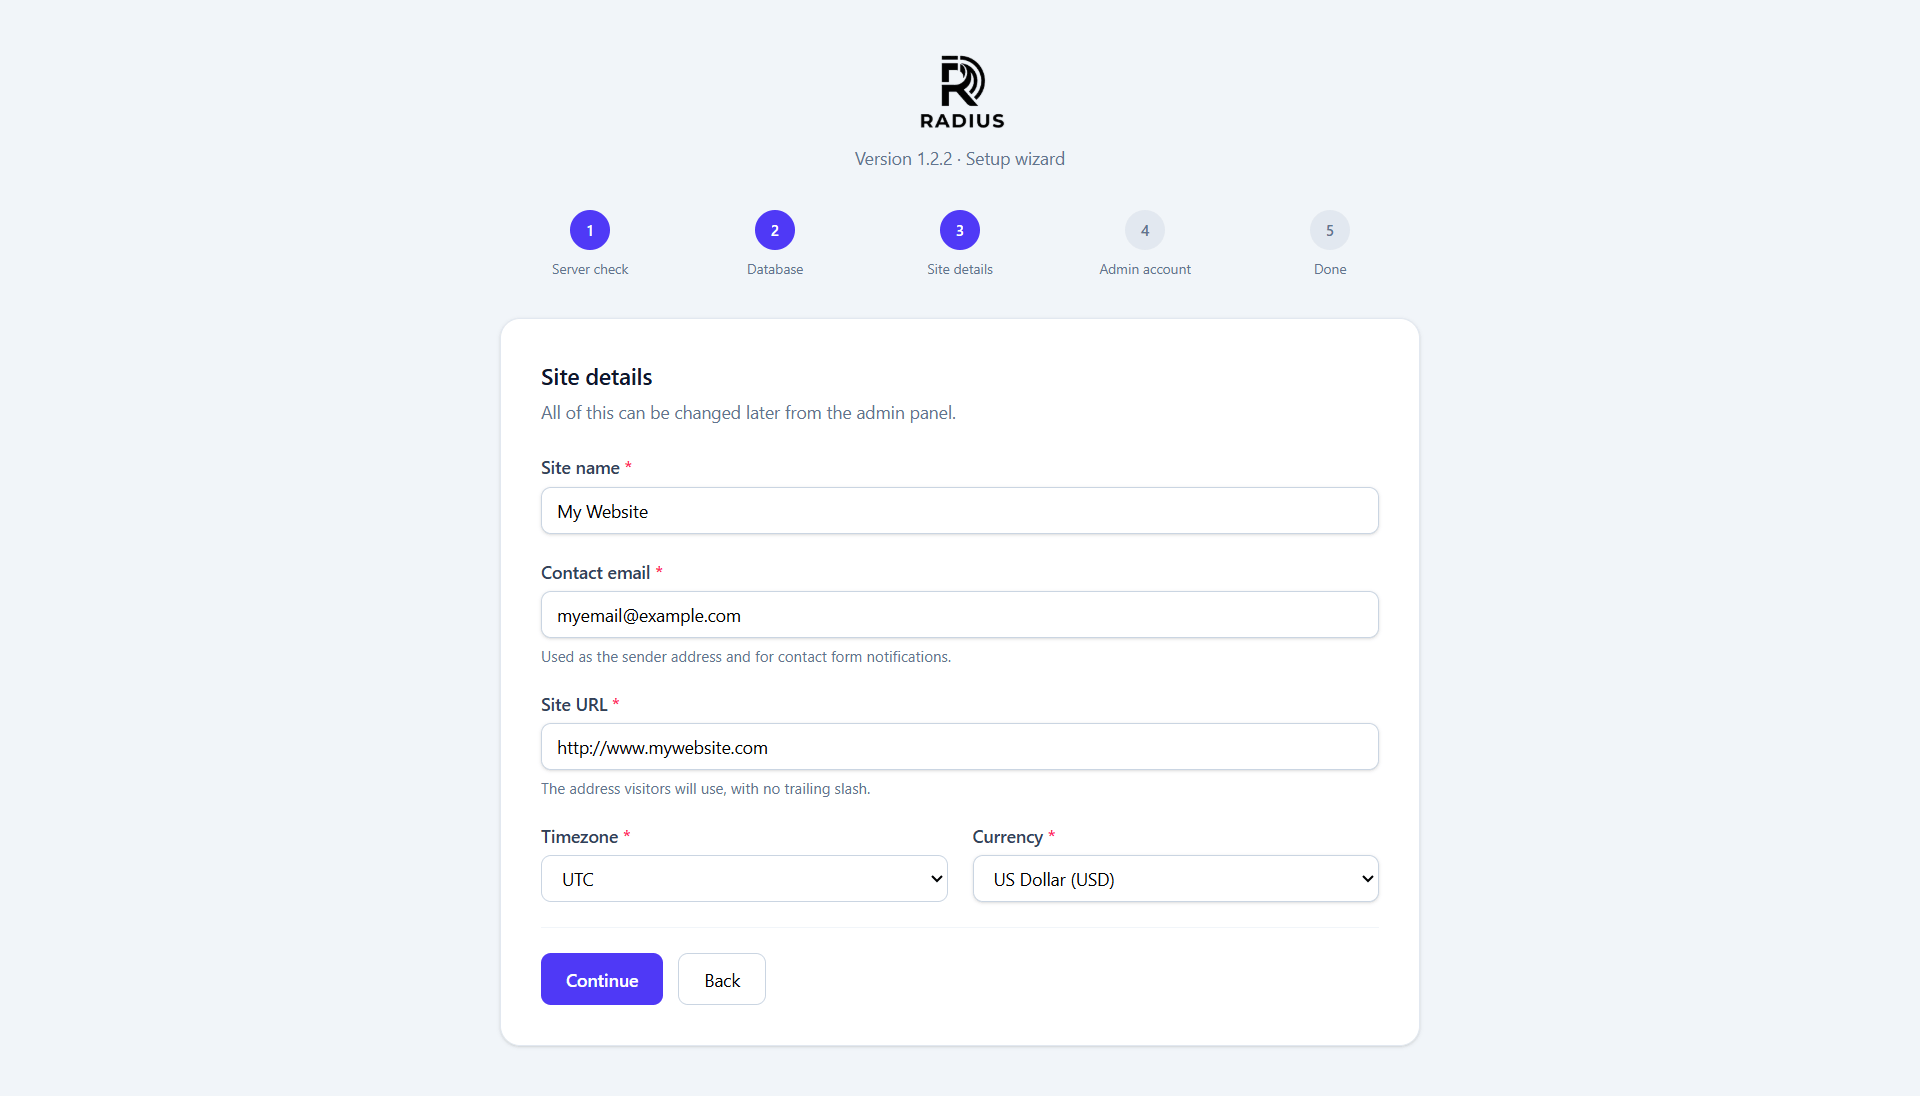
Step 3 — Site details
Your site name, URL and timezone. All of these are editable afterwards under Settings → General.
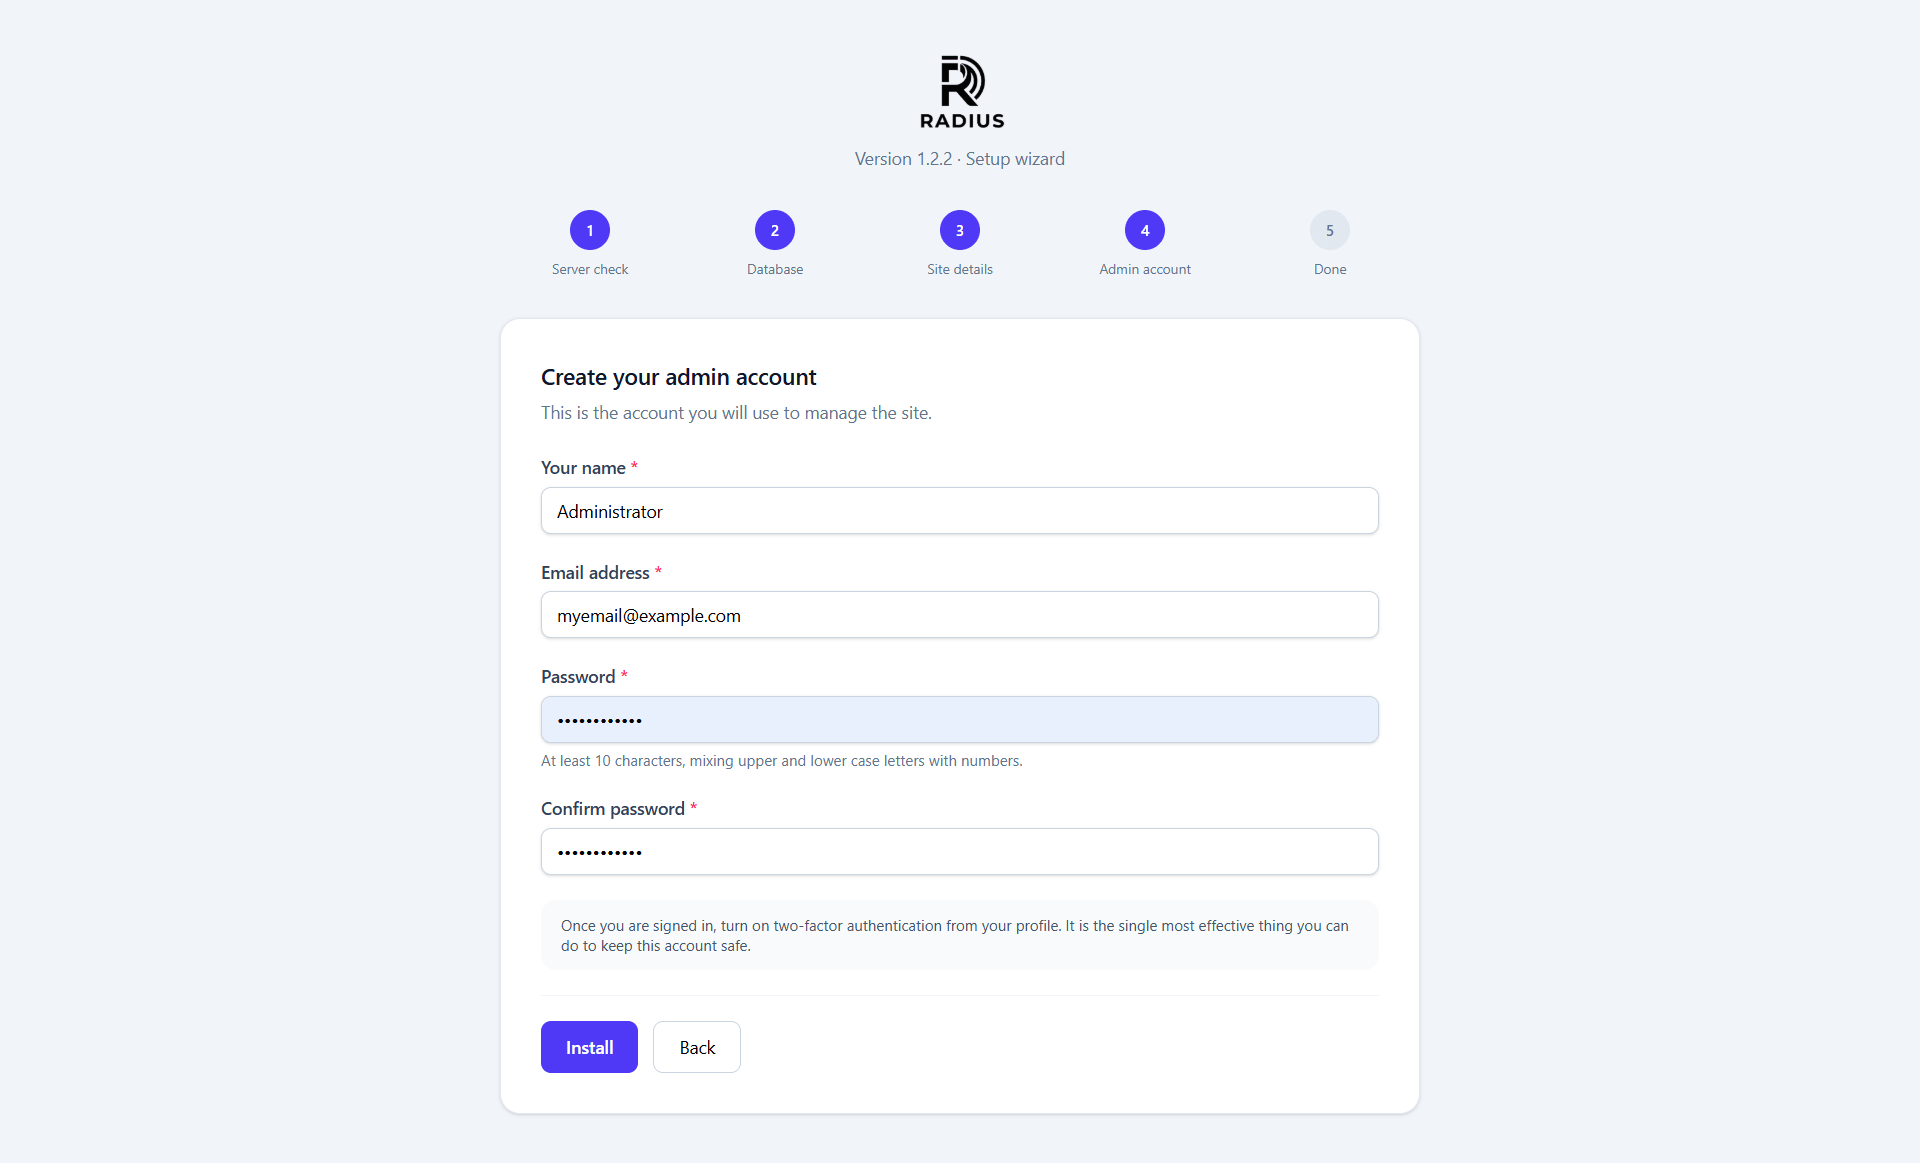
Step 4 — Admin account
The first account, created as an administrator.
Use a real email address
Password resets and every test email go here. A placeholder address means you cannot recover the account.
Step 5 — Finished
The wizard writes .env, runs the migrations, seeds the defaults and creates your account.
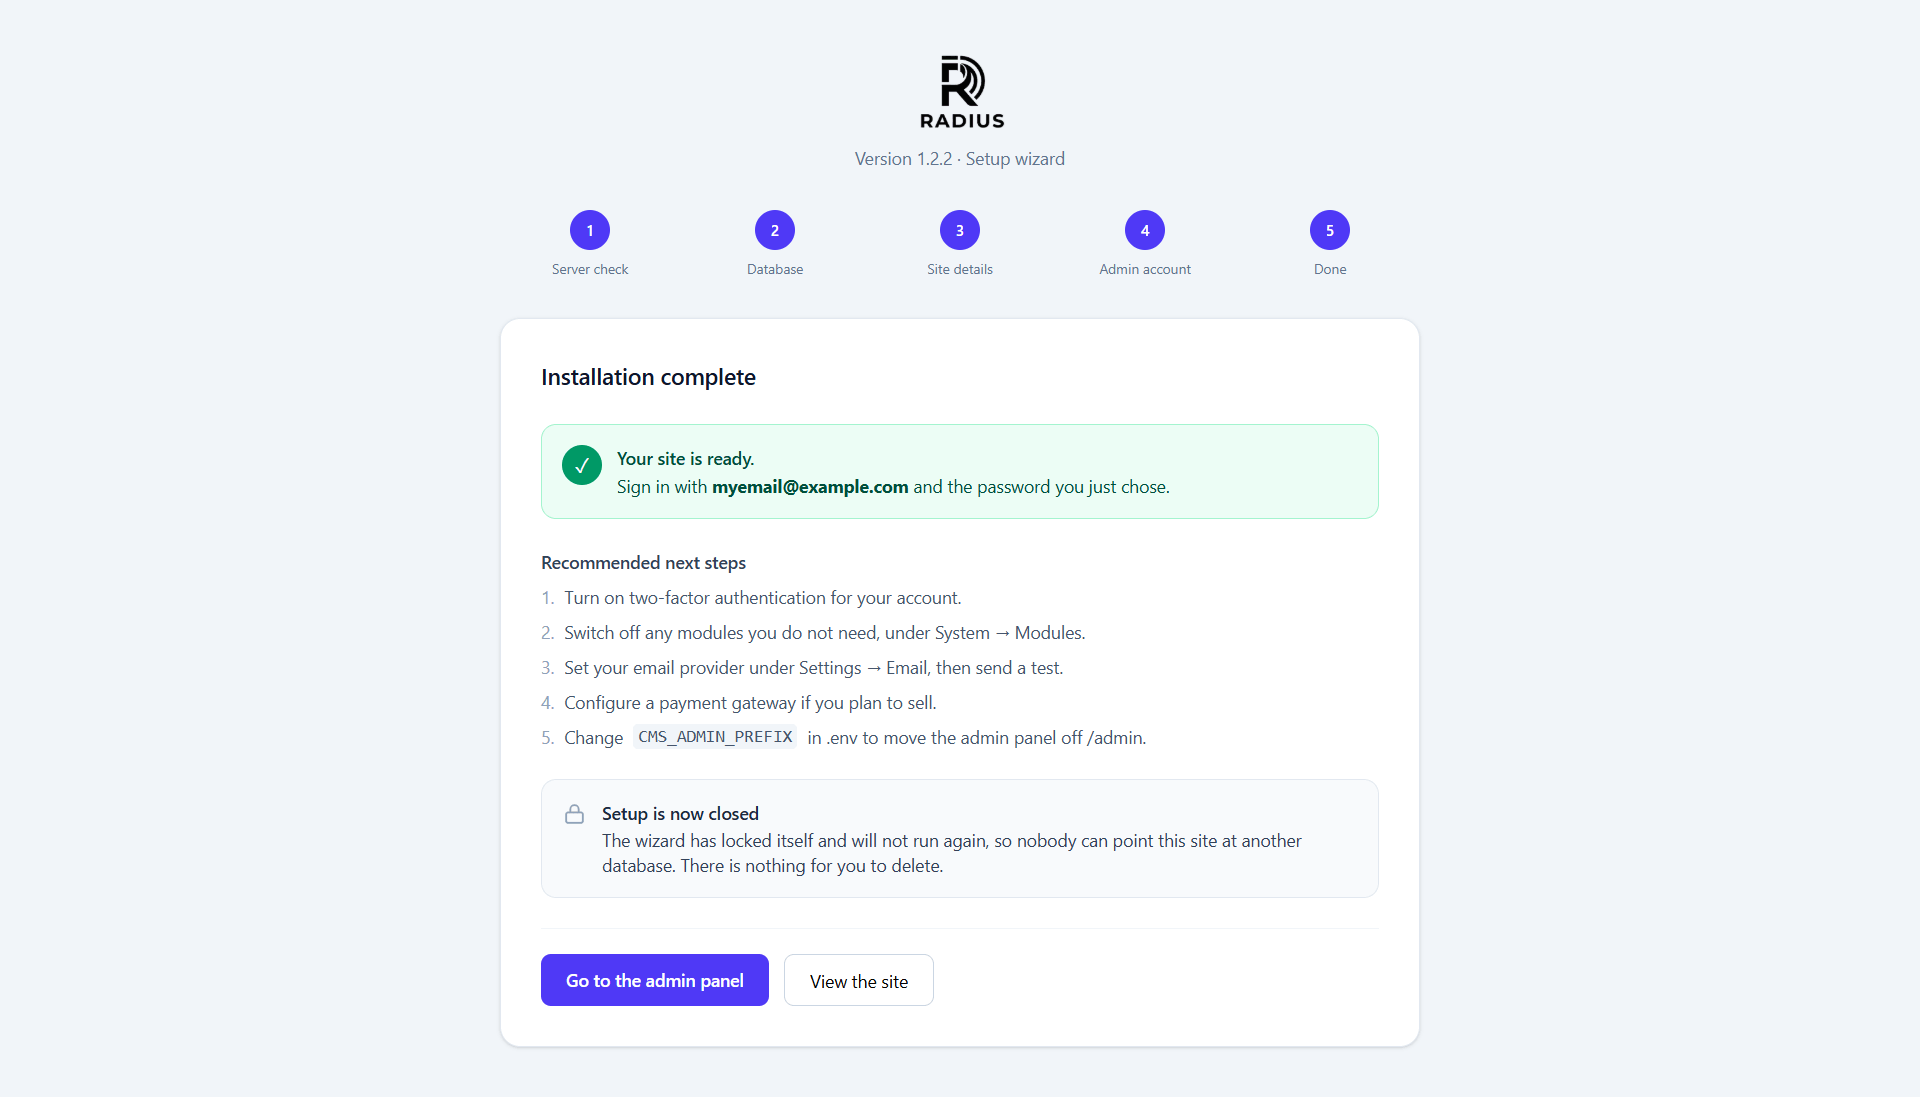
When it finishes it writes a lock file at storage/installed. That permanently closes the wizard, so nobody can re-point your live site at another database. Deleting that file re-opens it — which is also the only way to re-run the installer deliberately.
Installing from the command line
If you have SSH, this does the same work:
cp .env.example .env          # then fill in your DB_ credentials
php artisan key:generate
php artisan migrate --force
php artisan db:seed --force
php artisan cms:admin         # creates your admin account, interactively
php artisan storage:link
echo "{}" > storage/installed
The last line is what closes the wizard. Skip it and your site will keep offering to install itself.
See Artisan commands for what each of these does.
Want something to look at?
An empty install has no content. This fills it with a realistic demo:
php artisan cms:demoThat creates 12 blog posts, 9 pages and 15 products, along with the categories, tags, comments, reviews, variants and placeholder images that go with them. The catalogue deliberately covers the awkward cases — an item out of stock, one on backorder, one on sale inside a date window, one digital, one still in draft, a scheduled post, an unapproved comment.
Remove it again with:
php artisan cms:demo --removeIt is not part of db:seed, so a normal install never gets it.
Next
First steps — the six things worth doing before you point a real domain at this.